 英语
英语 西班牙语
西班牙语 德语
德语 法语
法语 俄语
俄语
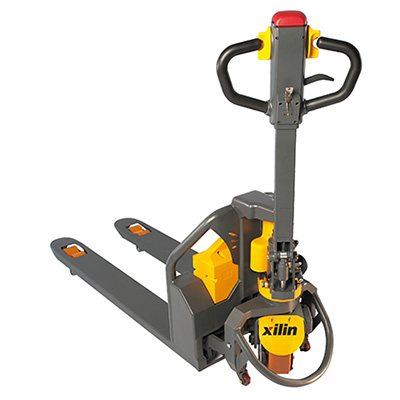 Electric Pallet Truck
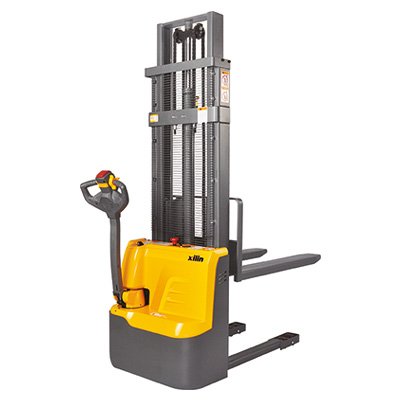 Electric Stacker
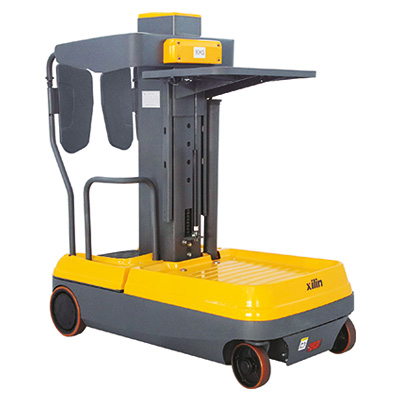 Order Picker
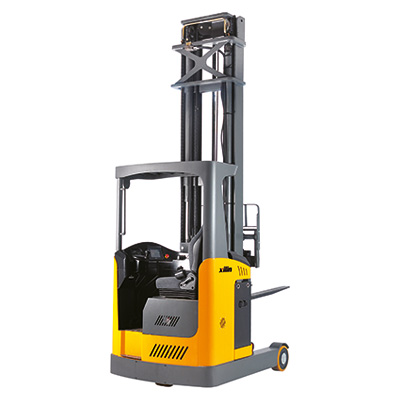 Narrow Aisle Truck
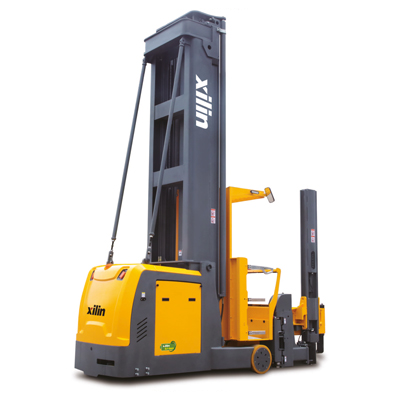 VNA Tri-Lateral Stacker
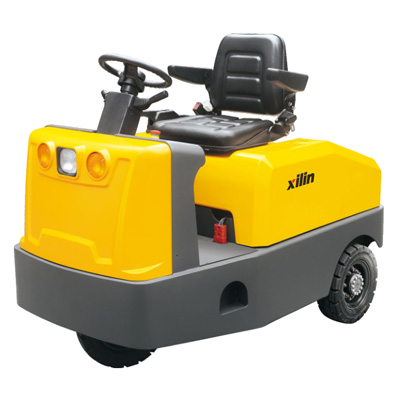 Tow Tractor
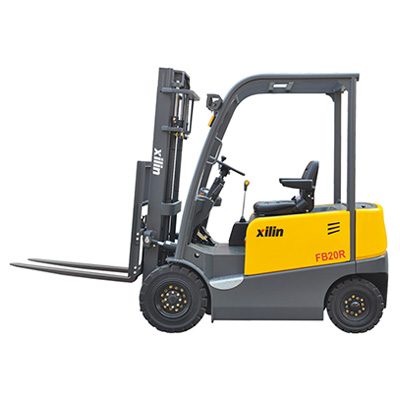 Electric Forklift
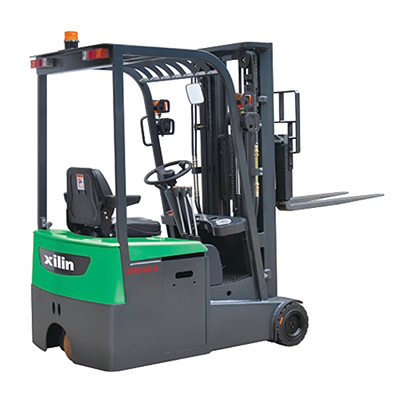 Lithium-ion Truck
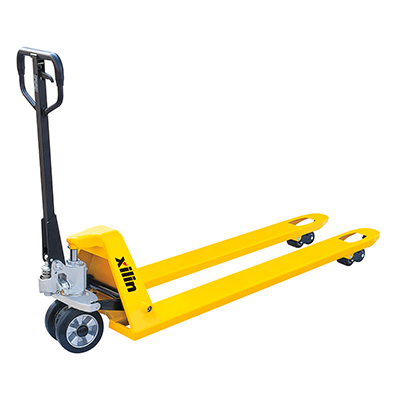 Hand Pallet Truck
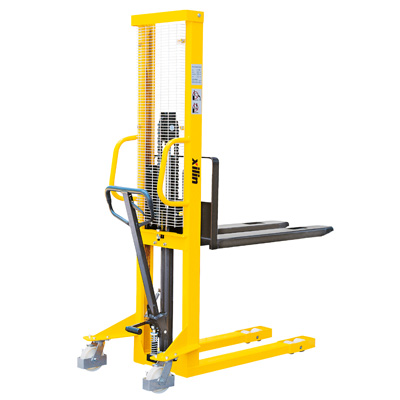 Manual Stacker
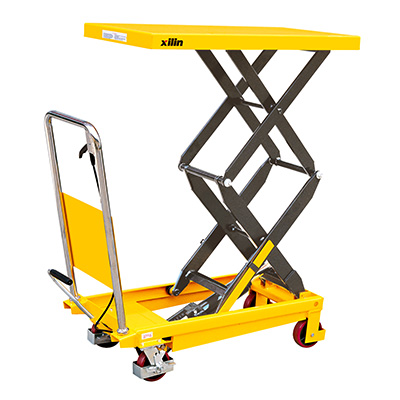 Lift Table
Content
A maintenance team needs to lift a 600 kg motor off its base in a pump room. There is no crane, but there is a steel I-beam above the walkway. A beam clamp for lifting turns that beam into a lifting point in a few minutes, and that is exactly why it deserves more attention than it usually gets. In most incidents involving beam clamps, the clamp is not the first thing to fail. The fit between the clamp and the beam fails, or the load is pulled at an angle the clamp was never rated for.
The short version: measure the flange before you buy, confirm the beam can take a point load where the clamp sits, keep the pull inside the rated angle, then inspect on a schedule rather than when something already looks wrong.
What a Beam Clamp for Lifting Does
A beam clamp grips the flange of a structural beam to create a suspension point for a hoist, chain block, lever hoist or sling. The load path always runs through the clamp body and into the flange, whether the clamp hangs under the beam or sits on top of it. That is why hanging and lifting versions behave in much the same way in practice: force enters the beam in one direction, and the flange has to resist it locally.
Three families cover most industrial work:
- Fixed clamps that stay where they are placed and are removed after the lift.
- Trolley clamps that roll along the flange so the load can travel horizontally.
- Screw type clamps that squeeze the flange between two jaw faces.
Each family depends on the beam differently. A screw type clamp relies on tightening force to hold position. A plate type clamp uses gravity and the downward load to wedge against the flange. Use the wrong family for an upward or sideways pull and the clamp can walk along the flange or release without warning.
Match the Clamp to the Beam Before Anything Else
Flange width and flange thickness appear in every clamp datasheet, and they are the two numbers buyers skip most often. A clamp rated for 2 tonnes still slips if its jaw opening is wider than the flange it grips, because only part of the jaw face makes contact.
| Check | What to verify | Risk if ignored |
|---|---|---|
| Flange width | Jaw opening matches the real flange width with full face contact | Clamp sits on the flange edge and tips under load |
| Flange thickness | Jaw depth and screw travel suit the measured thickness | Screw runs out of travel and grip force drops |
| Beam condition | Straight, undamaged flange with no corrosion, notches or weld spatter | Point loading on an already weakened flange |
| Beam capacity | Local flange strength for a concentrated load at the chosen point | Permanent flange deformation or cracking |
| Total load and angle | Load plus rigging plus dynamic effects, inside the rated pull angle | Overload and gradual slipping during the lift |
Measure the flange in more than one place. Rolled beams vary slightly along their length, and a clamp that fits at one end of a runway may not fit where the lift actually happens.
Capacity, Safety Factor and Rating Rules
A working load limit is normally set with a design factor of at least four to one against a proof load, and the certificate should carry a serial number, the working load limit, the proof test date and the standard the device was built to, such as ASME B30.20 for below the hook devices. Two conditions matter more than the headline number.
The first is angle. Most clamps are rated for a specific pull direction, commonly straight down. A side pull at 45 degrees can reduce usable capacity substantially, and some models permit no side pull at all. If the rigging geometry pulls the clamp away from vertical, treat the nameplate figure as an upper bound rather than an operating value.
The second is shock. A snatch load from a slack chain, a sudden stop or a swinging load can multiply the static weight well beyond what the scale reads. Add the weight of slings, shackles and the hook before comparing anything to the limit.
Never modify a beam clamp. Welding an extension onto the body, bending a jaw or adding a homemade bracket cancels the rating, and no inspection afterwards can restore it.
Position on the Beam and Load Direction
Where you place the clamp decides how the beam behaves. Clamp close to the web when you can, because the flange is stiffest there and local bending is smallest. Clamping near the free edge of a thin flange concentrates stress in a spot that was never designed to carry it.
- Keep the load line under the body of the clamp.
- Avoid areas with drilled holes, notches, corrosion or previous repairs.
- Do not bridge across a flange splice plate unless the clamp is designed for it.
- Confirm minimum beam height and flange thickness in the datasheet, not by eye.
- If the clamp must travel, check the flange for steps, bolts and obstructions along the route.
Inspection and Record Keeping
Beam clamps usually fail gradually, and the warning signs are visible to anyone who looks. A pre-use check takes under a minute.
What to look for before each use
- Jaw teeth or grip faces worn flat, polished or rounded.
- Cracks at welds or at the base of the jaw.
- Screw threads that bind, strip or keep turning without tightening.
- Bent pins, weak springs or missing safety pins.
- Illegible or missing capacity marking.
Records matter as much as the check itself. Note the serial number, inspection date and inspector. Devices used daily belong on a documented periodic inspection schedule, and any clamp that has been overloaded, dropped or repaired should be withdrawn until it is re-certified.
When a Beam Clamp Is the Wrong Tool
If the lift repeats many times a shift, a beam clamp is the wrong answer. It is a rigging accessory for occasional lifts, not a lifting machine, and the beam above a production area is rarely rated for a permanent point load anyway.
Warehouse and production teams normally solve repeated lifting with equipment built for the task. A lift table raises and holds a load at a working height, so no overhead point is needed and the rigging step disappears entirely. An electric walkie stacker handles pallet loads between floor and racking level and follows the work instead of waiting above it. If you are comparing options, this guide on how to choose a lift table sets out capacity, travel and footprint trade-offs in plain terms.
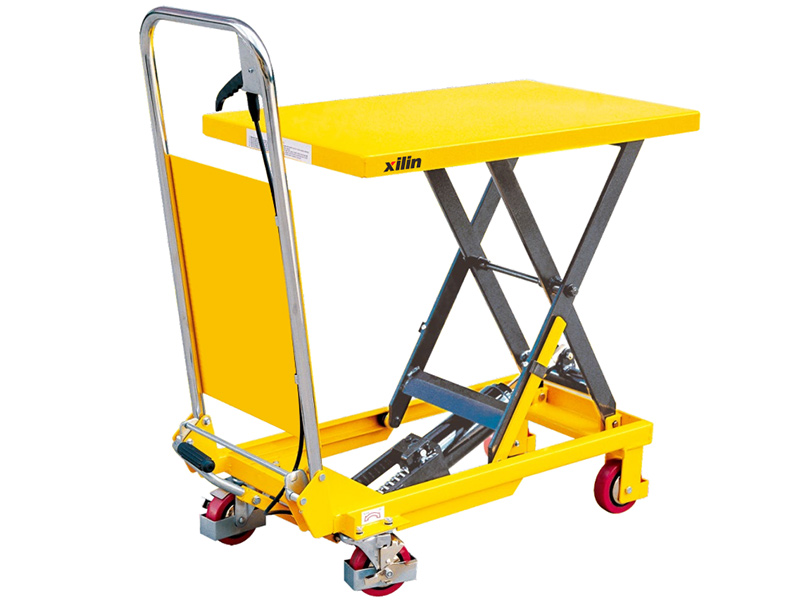 EU Type SP150 Manual Hydraulic Lift TableA 150 kg foot-operated manual lift table for raising loads to working height without overhead rigging or powered lifting equipment.View Product →
The same logic applies when a beam exists but cannot be used. Before reaching for a clamp, ask whether the beam is rated for a concentrated load at that point, whether the pull angle stays inside the rating, and whether the beam will still be accessible next week.
A Practical Buying Checklist
- Measure flange width and thickness on the actual beam where the lift will happen.
- Confirm the beam can take a point load at that location.
- Calculate total load, including slings, shackles and dynamic effects.
- Choose the clamp type that matches the pull direction and whether it must move along the flange.
- Require a legible working load limit marking, serial number and proof test certificate.
- Check minimum flange thickness and jaw travel against the datasheet before ordering.
- Ask about spare parts, jaw replacement and service support for the planned service life.
The clamp is rarely the weakest part of a lift. The measurement you did not take, the angle you did not check and the inspection you postponed are the real risks. Get the flange fit and the rated capacity right, and a beam clamp becomes a quick, dependable lifting point instead of a gamble. For teams lifting pallets, stillages and containers every shift, the wider material handling equipment range covers pallet trucks, stackers, reach trucks and lift tables, so the everyday lifts can stay on the floor where they belong.