 英语
英语 西班牙语
西班牙语 德语
德语 法语
法语 俄语
俄语
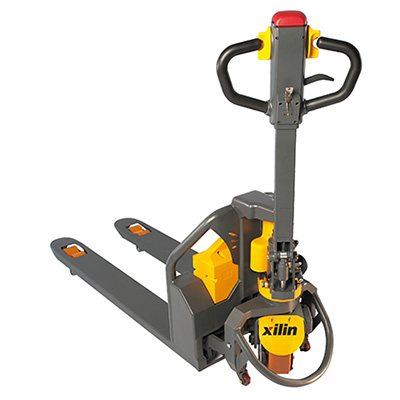 Electric Pallet Truck
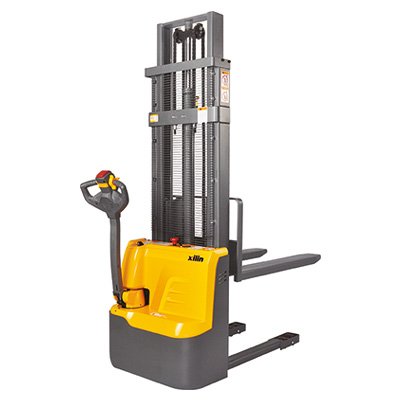 Electric Stacker
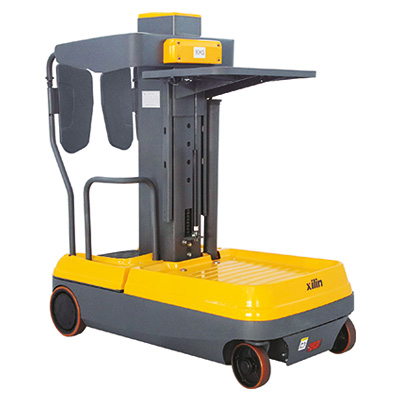 Order Picker
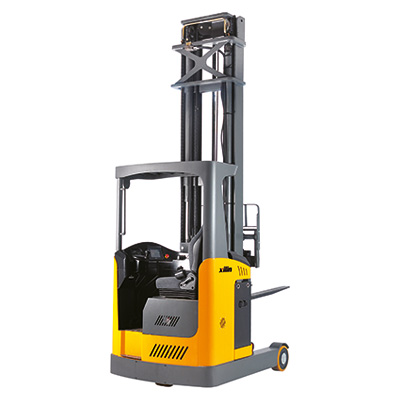 Narrow Aisle Truck
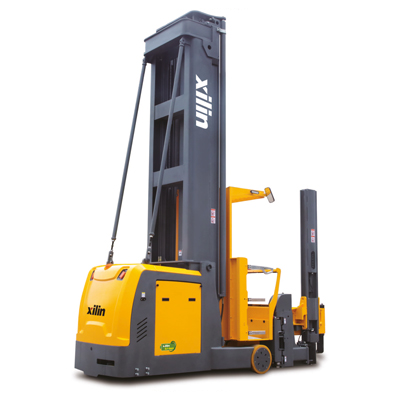 VNA Tri-Lateral Stacker
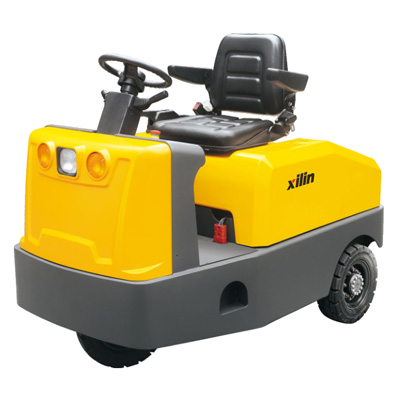 Tow Tractor
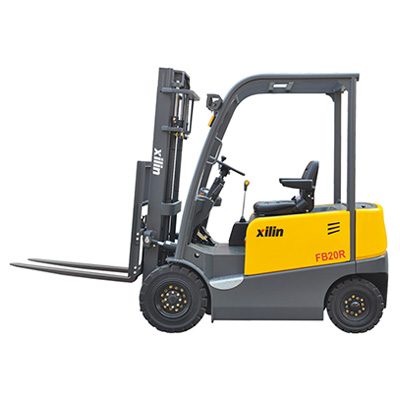 Electric Forklift
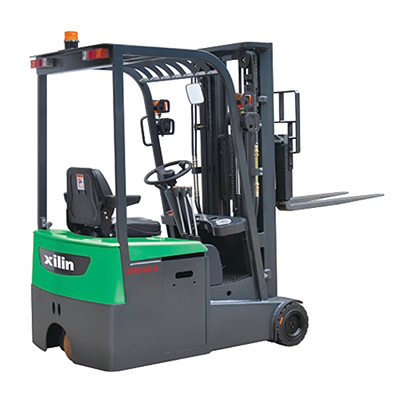 Lithium-ion Truck
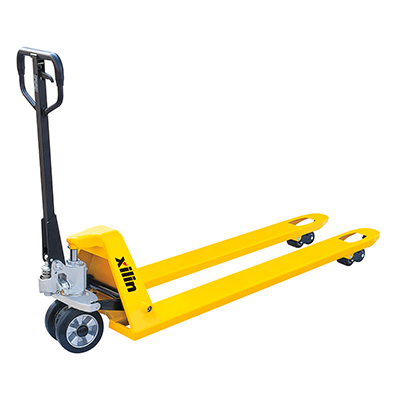 Hand Pallet Truck
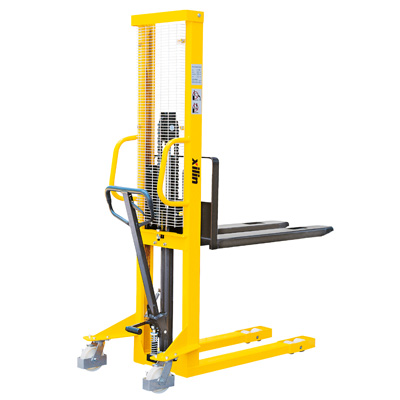 Manual Stacker
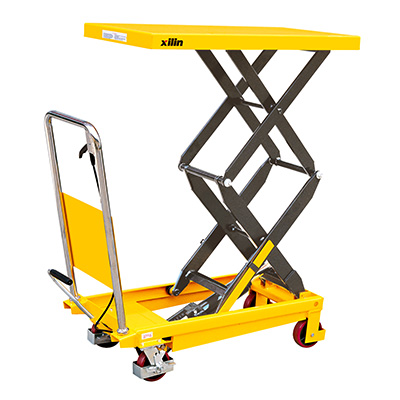 Lift Table
Content
- 1 The Three Numbers That Decide Most Purchases
- 2 What an Adjustable I Beam Clamp Does
- 3 Specifications Worth Comparing Line by Line
- 4 Adjustable, Fixed or Trolley Mounted
- 5 Where These Clamps Earn Their Keep
- 6 Installation and Inspection: How Clamps Fail
- 7 When a Beam Clamp Is the Wrong Tool
- 8 A Short Selection Checklist
A maintenance crew has to hang a two tonne chain hoist over a pump skid. There is no crane, no lifting lug and no room for a gantry, but an I-beam runs the length of the ceiling. That beam is the anchor point, and an adjustable I beam clamp is the piece of hardware that turns it into one.
The short answer first. Buy a clamp whose working load limit, flange width range and rated load direction match both your beam and your lift. Insist on a serial number and a documented proof load. Then treat the clamp as one link in a chain that also includes the beam, the hoist, the sling and the load, because the weakest link sets the limit for the whole lift.
The Three Numbers That Decide Most Purchases
The first number is the working load limit, usually written as WLL. It is the maximum load the clamp is rated to carry in a stated direction, and it should be marked on the body or on a permanent tag. A two tonne clamp is not a clamp that will hold two tonnes in whatever direction you happen to pull. Most designs are rated for a vertical load only, and a side pull can cut the usable capacity sharply.
The WLL also applies to the clamp alone. If the beam, the shackle, the hoist and the sling are rated lower, the lift is limited by the lowest of them, which is why an accurate load weight matters more than brand loyalty.
The second number is the flange width range. An adjustable clamp covers a spread, for example 75 mm to 320 mm, by sliding a jaw along a threaded screw or a slotted body. If your flange sits at the very edge of that range, or outside it, the jaw will not seat squarely and the clamp can tip under load. Measure the actual flange with a tape, not from a drawing.
The third number is the flange thickness the jaw can close on. If the flange is thicker than the jaw opening, the clamp sits loose. If it is much thinner, the screw runs out of travel and the jaw bottoms out before it grips. Both cases end with the clamp sliding along the beam, which is the failure mode that hurts people.
One more check belongs here even though it is not printed on the clamp. The beam has to carry the load. A clamp concentrates force on a small area of the flange, so a beam that is fine holding up a roof may not be fine under a three tonne point load at mid span. Have an engineer confirm it, particularly for temporary or unusual lifts.
What an Adjustable I Beam Clamp Does
A beam clamp grips the flange of an I-beam or H-beam and provides a hanging point below it. A shackle or a hoist hook goes through the eye, and the load hangs from there. Adjustable versions have a movable jaw, so one clamp can serve several beam sizes. Fixed versions are built for a single flange width and are lighter and cheaper for repetitive work on the same beam.
The word clamp covers a lot of hardware that should never be used for lifting. Electrical hänger clamps, conduit supports and strut clamps hold static services and are not below the hook devices. Plate clamps and beam clamps can look similar in an online listing and behave completely differently on site. If a product has no working load limit, no serial number and no standard reference, treat it as a support rather than a lifting point.
Specifications Worth Comparing Line by Line
| Specification | Typical range | Why it matters |
|---|---|---|
| Working load limit | 0.5 tonne to 10 tonne | Must cover the heaviest single load, not the average load. Usually applies to vertical loading only. |
| Flange width range | 75 mm to 320 mm | Your beam flange has to sit inside the range with margin, otherwise the jaw cannot seat square on the flange. |
| Flange thickness range | 5 mm to 30 mm | Decides whether the jaw closes firmly on the flange or bottoms out before it grips. |
| Rated load direction | Vertical, sometimes 0 to 45 degrees | A side pull or an angled sling reduces capacity. Some clamps are rated for it, most are not. |
| Certification and marking | ASME B30.20, EN 13155, proof load at 125 percent | Gives you a traceable record for inspections, audits and insurance. |
| Material and finish | Forged or cast steel, zinc plated | Affects strength, corrosion resistance and how easily cracks can be spotted. |
| Unit weight | 6 kg to 35 kg | Overhead installation is done by hand. Heavy clamps need two people or a lift. |
Adjustable, Fixed or Trolley Mounted
- Fixed clamp: one flange width, lowest weight and price, best where the same beam is used every day.
- Adjustable clamp: a jaw or screw that slides to suit a range of flanges. Slower to set, more flexible, the usual choice for maintenance departments.
- Clamp with an integrated trolley: the hoist rolls along the beam instead of hanging from one point. Useful when the load has to travel sideways, but the flange has to suit the trolley wheels.
- Screw type against hook on type: screw clamps tighten onto the flange and stay where they are put, while hook on clamps are faster but need a flange profile that keeps them from walking.
Where These Clamps Earn Their Keep
Beam clamps appear wherever a permanent lifting point is missing but a steel beam is present. Typical jobs include plant maintenance above a pump or a motor, steel erection where beams arrive before the crane is free, pipe and duct installation in industrial buildings, engine and gearbox removal in workshops, and temporary rigging points during shutdowns. Marine, mining and bridge inspection teams use them for the same reason. The structure is already there, and a certified clamp costs less than building a gantry.
Installation and Inspection: How Clamps Fail
Most incidents trace back to four causes.
- Wrong fit. The flange is too wide, too narrow or too thick, so the jaw never reaches full contact.
- Side loading. The sling pulls at an angle the clamp was never rated for, and the jaw opens or the clamp slides.
- Beam condition. Heavy corrosion, a bent flange, thick paint or a flange that is only partly engaged all reduce grip.
- Missed inspection. A cracked jaw, a bent screw or a worn thread is easy to overlook if nobody looks.
Follow the manufacturer torque figure when tightening. Position the clamp so the load hangs vertically and as close to a support or stiffener as the job allows. Tether the clamp and the load whenever the sling could slip out of the eye. Never weld, drill, heat or bend a clamp to make it fit, and never return one to service after a fall or a shock load until it has been inspected and recertified.
Inspection runs on two rhythms. A visual check before every use takes under a minute and covers cracks, deformation, missing pins and legible markings. A documented periodic inspection, typically every twelve months or more often in heavy use, records the serial number, the condition and any repair. Standards such as ASME B30.20 and EN 13155 set the expectations for proof loading and marking, and they are the reference an auditor or insurer will ask about.
When a Beam Clamp Is the Wrong Tool
Not every lift needs an overhead anchor. If a load only has to move from a pallet to a bench, or from the floor to a comfortable working height, an overhead clamp adds cost, paperwork and a beam survey the job does not need. Floor level equipment does the same work with far less rigging.
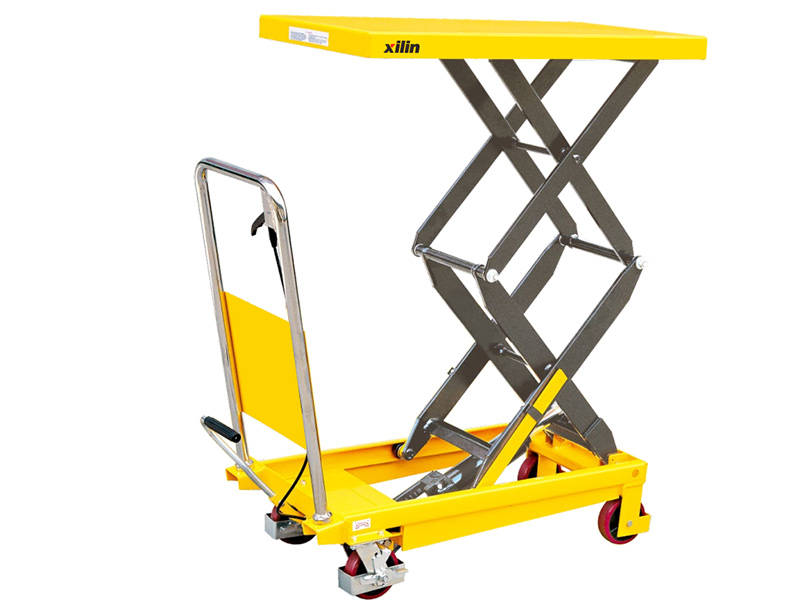 Double Scissors SPS150 SPS350 Lift TableDual-model double-scissor lift table with 150 kg and 350 kg capacities, offering floor-level lifting for pallets and workpieces without overhead rigging.View Product →
A scissor lift table raises pallets and workpieces to the height the operator needs and stays where the work is done. That is a different answer from hanging a hoist on a beam, and for repetitive assembly or order preparation it is usually the faster one.
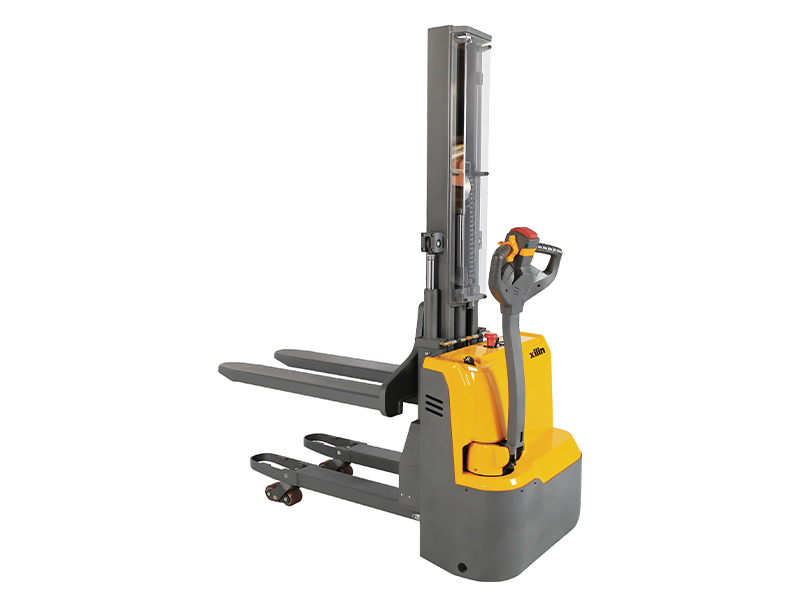 Electric Stacker With Initial Lift ModelsCategory lists electric stackers with initial lift, including models rated 1000 kg to 1500 kg, for lifting pallets without overhead beam rigging.View Product →
The same logic applies where pallets must be lifted onto a rack but the building has no suitable beam, or the beam sits in another bay. A stacker with an initial lift handles that job straight from the floor, with no rigging plan and no engineer sign off on the structure. If you are weighing the two approaches, the guide on how to choose a lift table walks through capacity, lift height and duty cycle in more detail.
A Short Selection Checklist
- Weigh the heaviest load and add allowance for shock and for anything hanging below the hook.
- Measure the beam flange width and thickness at the exact spot where the clamp will sit.
- Confirm the clamp is rated for the load direction and the lift height you need.
- Check that the beam can carry a concentrated point load at that position.
- Ask for the proof load certificate, the serial number and the user manual.
- Decide how the clamp will be inspected, stored and recorded after purchase.
An adjustable I beam clamp is a small piece of hardware doing a serious job. Get the three numbers right, keep the paperwork, and inspect it as carefully as you would inspect the hoist hanging from it. That is what separates a lifting point from a hazard.